Step 1. Create a data source
The first step in data analysis is ingesting your data into the system. Metatron Discovery allows you to easily ingest various data sources.
The example in this tutorial shows you how to ingest data from your local directory. First, prepare data. An Excel file (.xls, .xlsx) or .csv file will suffice. This tutorial uses sales data. Download it from the link below:
Data sources can be viewed and ingested from Management > Data Storage > Data Source. To create a new data source, click the New button on the upper right of the data source list.
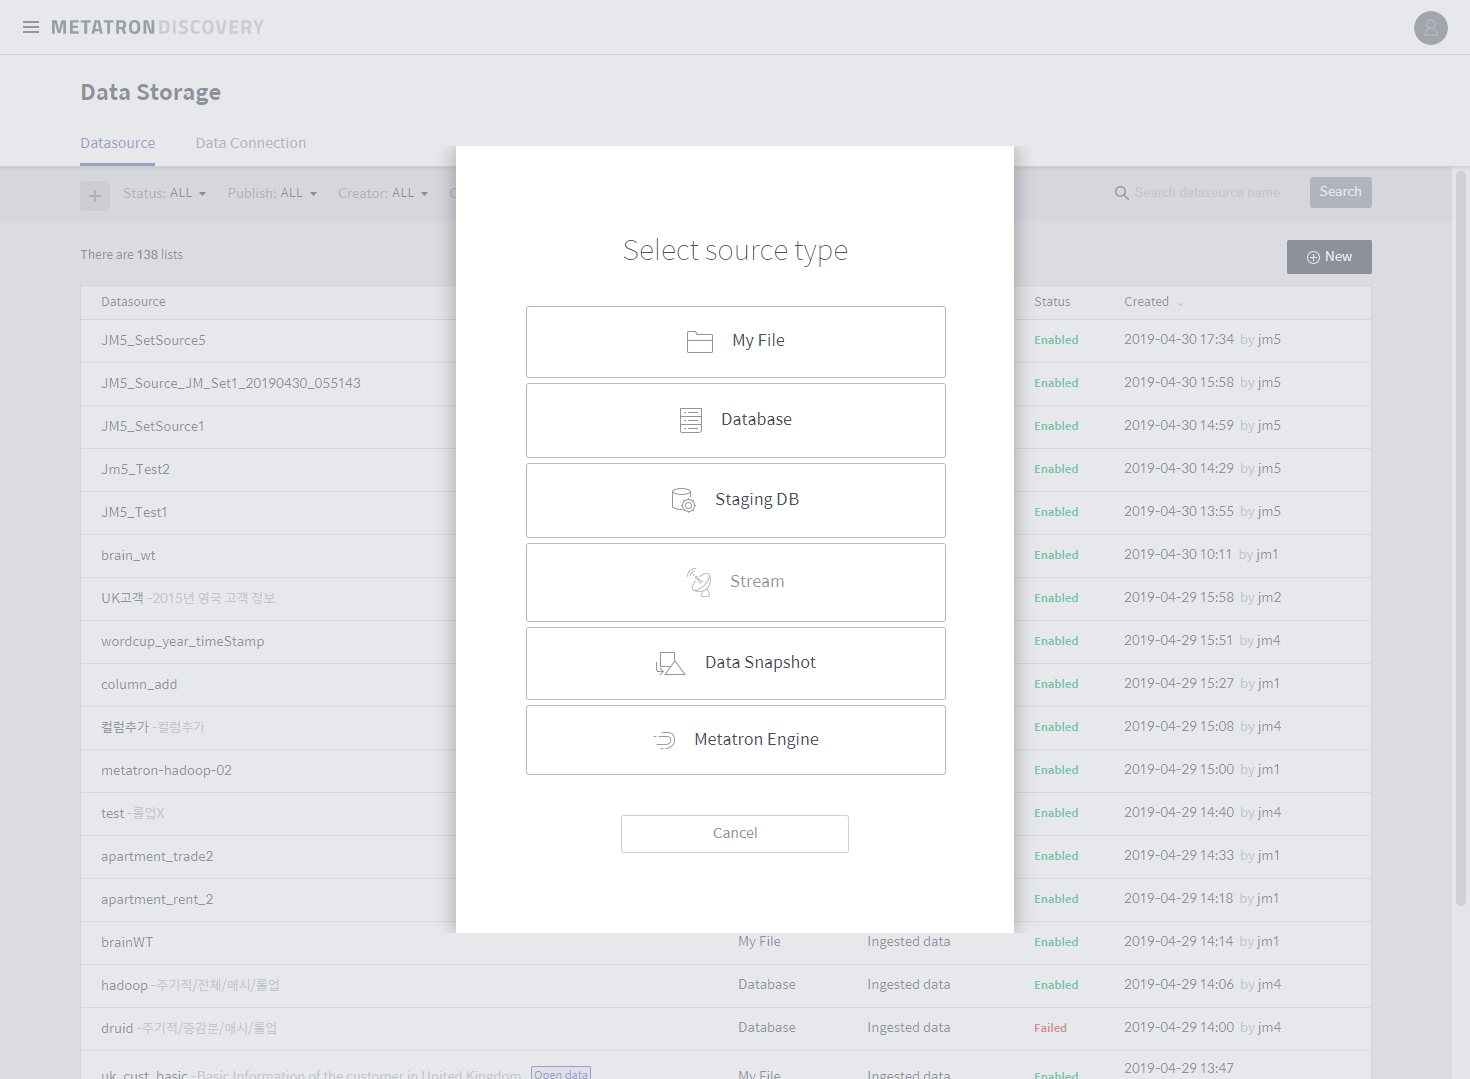
In this tutorial, click File to retrieve the data from your local directory. See Create a data source for details on creating a data source from other sources.
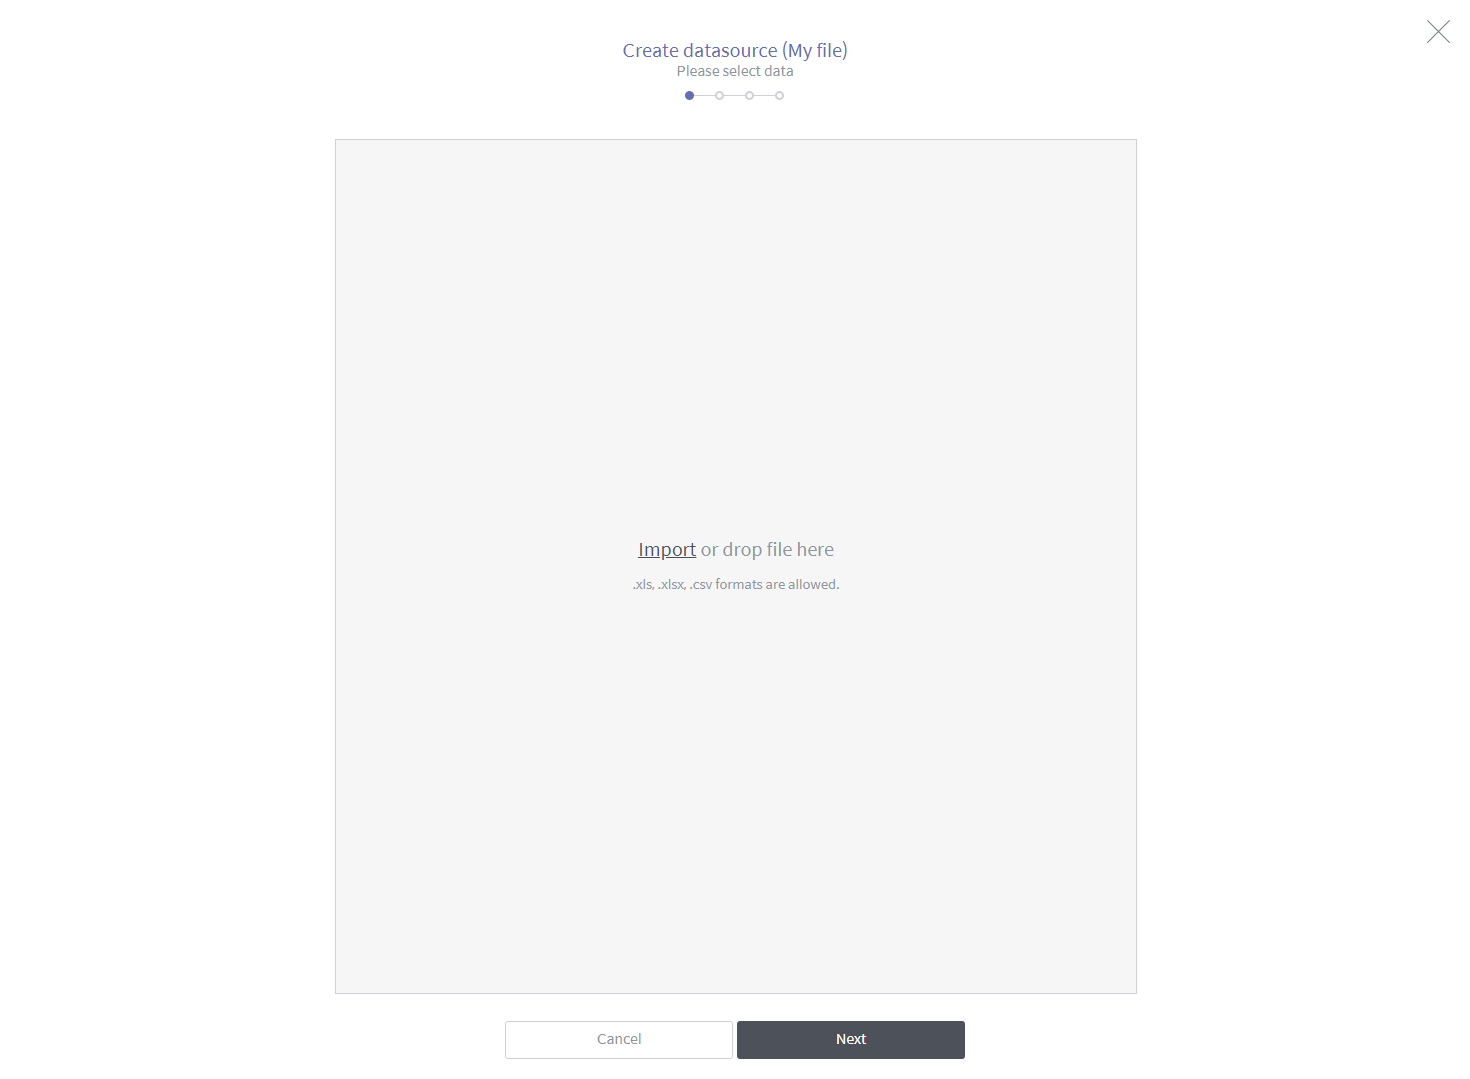
Drag and drop the data you wish to analyze, or retrieve it from the directory.
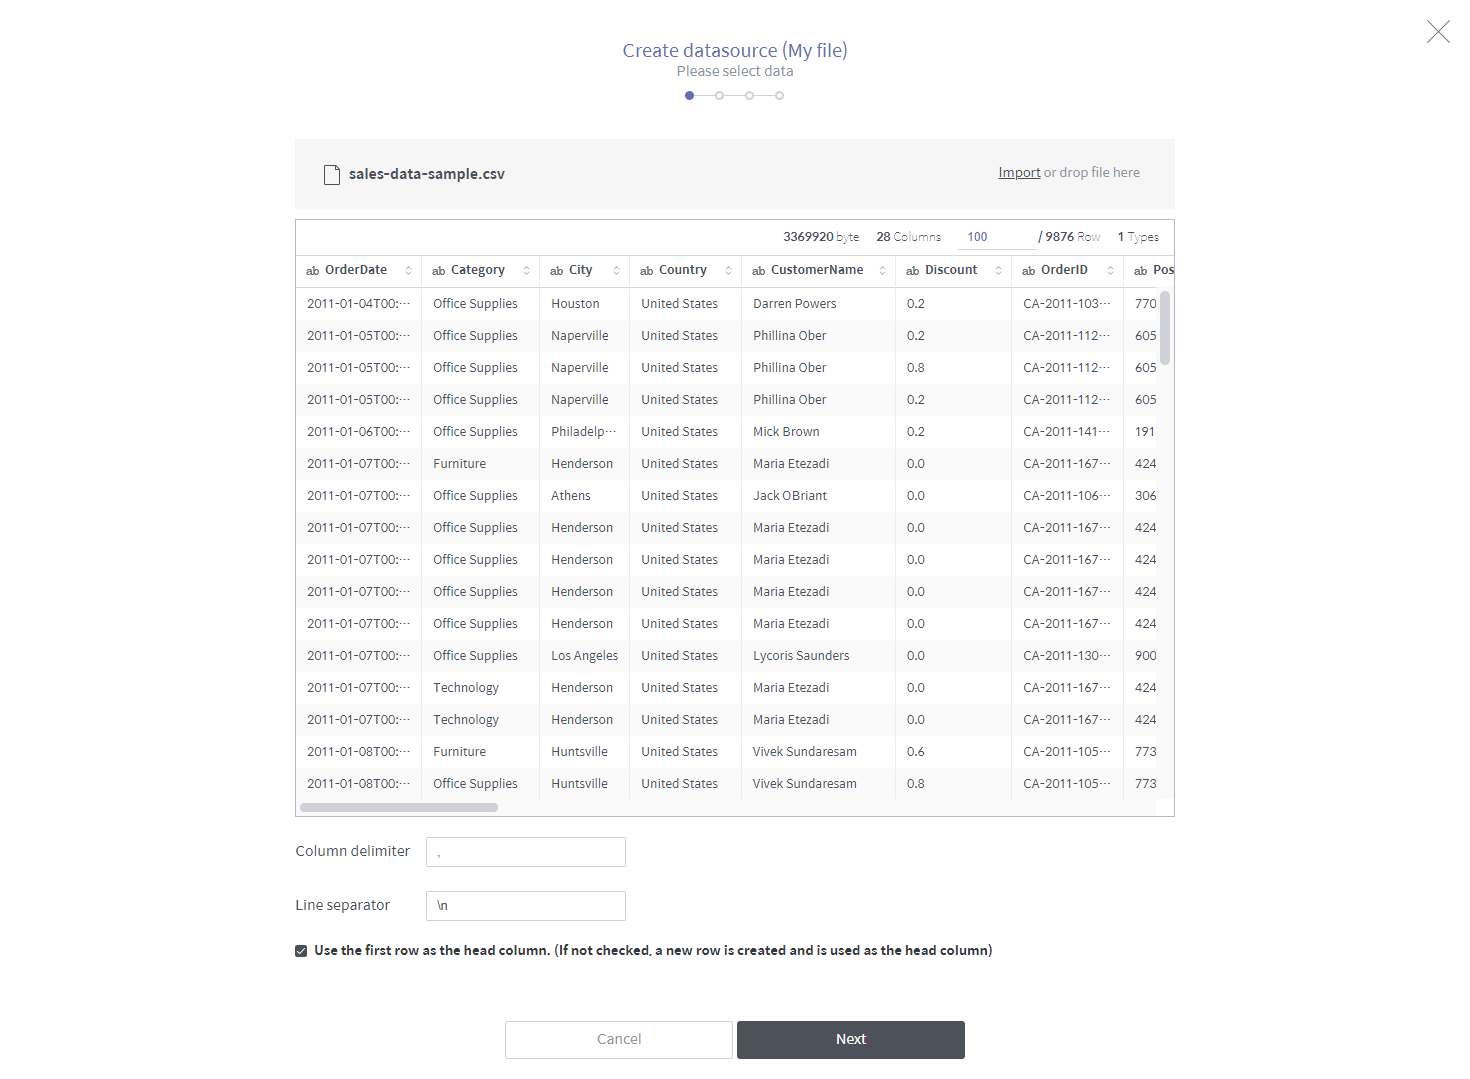
Drag your cursor over the sales data to view up to 100 rows of data with detection of the column delimiter and line separator. This data is properly displayed using the default delimiter and separator. Click Next.
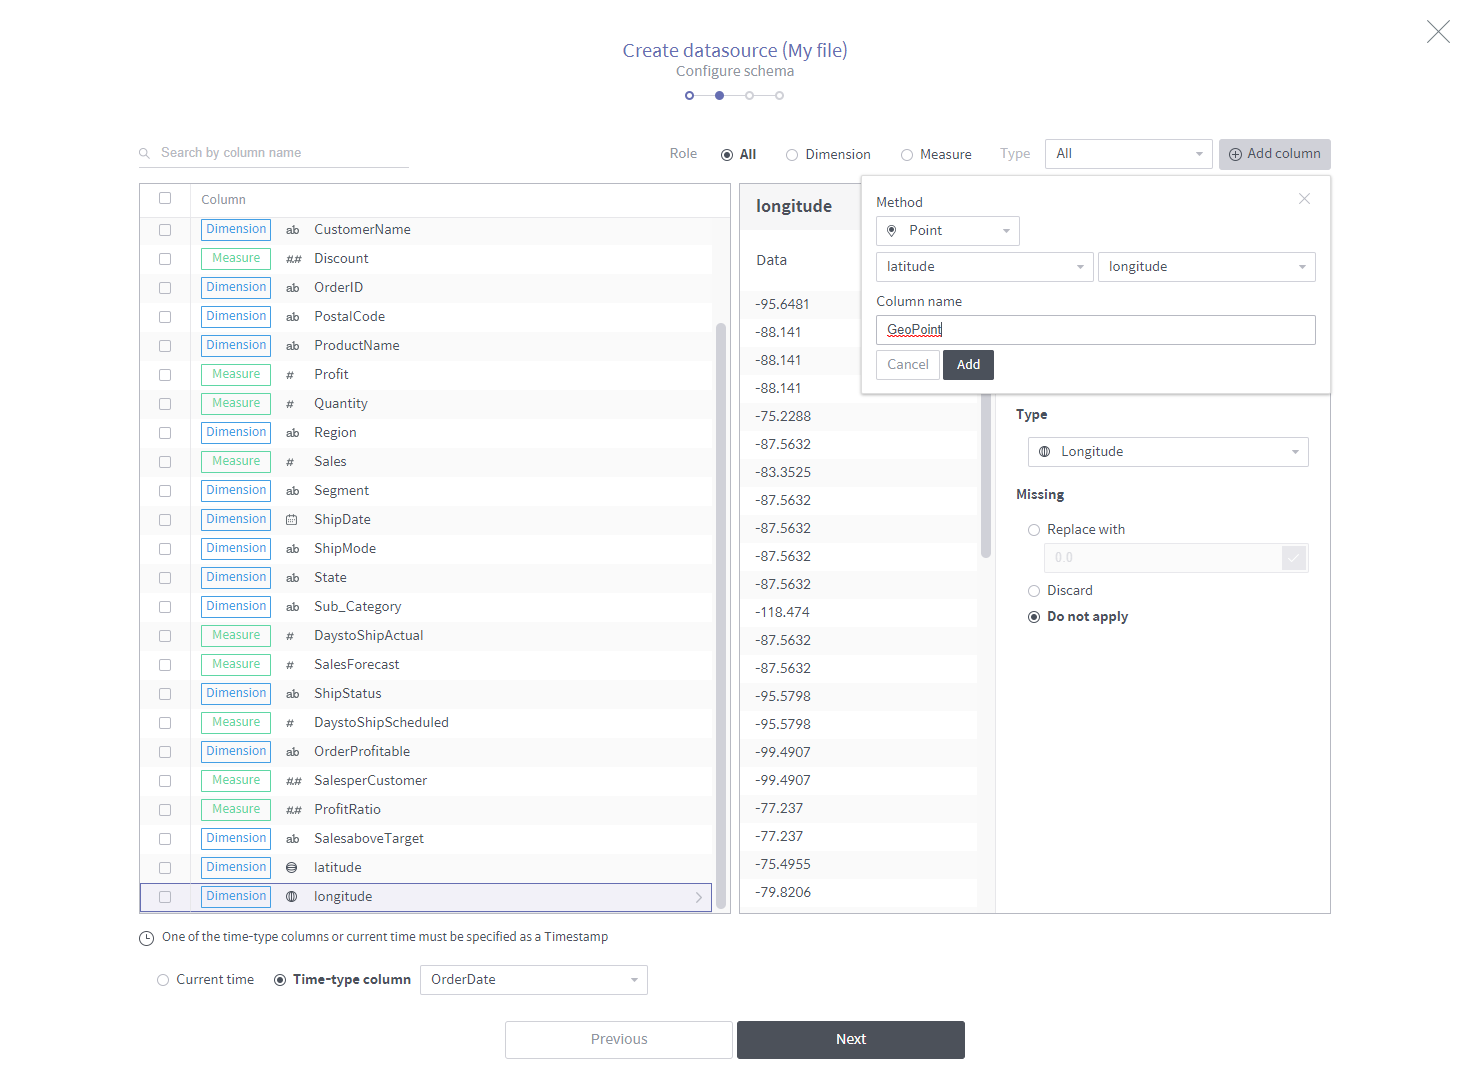
While viewing the data, adjust the column types properly. This task is called data schema configuration.

Each column functions as a “dimension” or “measure.” See “Dimensions” and “Measures” for further details. In this data, the Discount, Profit, Quantity, Sales, DaystoShipActual, SalesForecast, DaystoShipScheduled, SalesperCustomer, and ProfitRatio columns must be converted into measures.
Next, the data types of columns must be adjusted properly. The string type is the default setting for dimensions, and the integer type for measures. While viewing the sample, change the data type settings properly. Below is a list of items to be modified in this data.
Orderdate: Date/TimeDiscount: DecimalShipDate: Date/Time (Change the time format to yyyy. MM. dd. and click the checkbox to validate)SalesperCustomer: DecimalProfitRatio: Decimallatitude: Latitudelongitude: Longitude
Lastly, you should create a new column. Since we already have columns for latitude and longitude, we can create a point type column. Click the Add column button on the upper right. Select the latitude column for the Latitude column, and the longitude column for the Longitude column. Name the columns appropriately, and click Add. A new point type column is created!
Once you are done with schema configuration, click Next. If necessary, you can change the settings for ingestion into Druid. The default settings are sufficient for now.
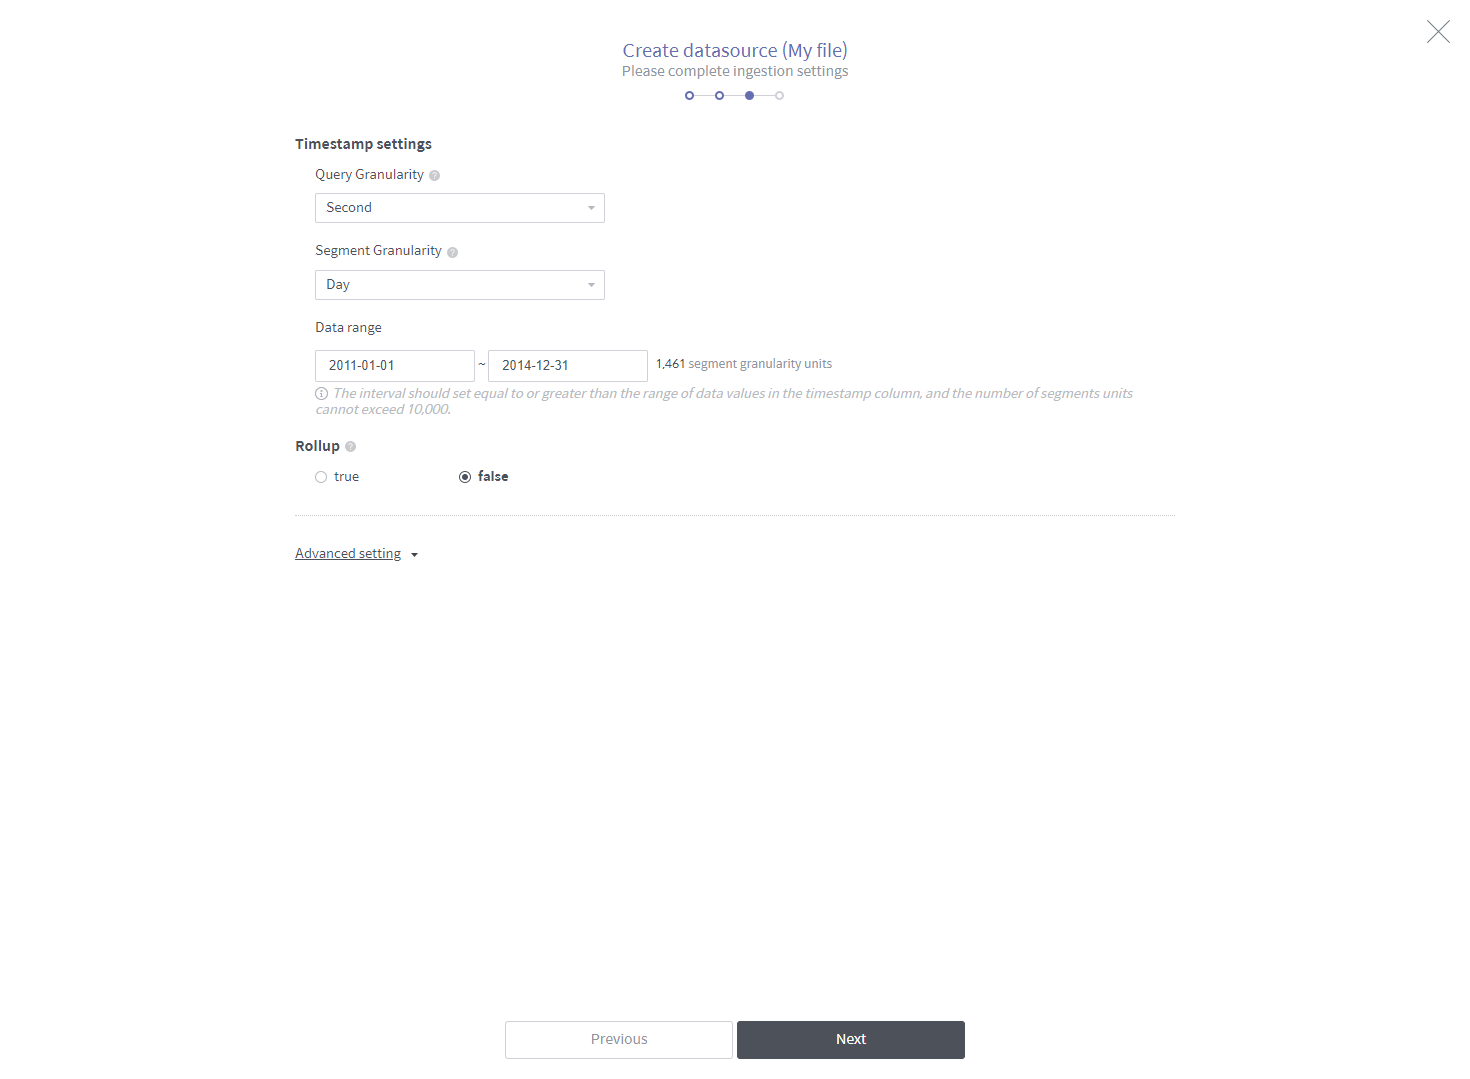
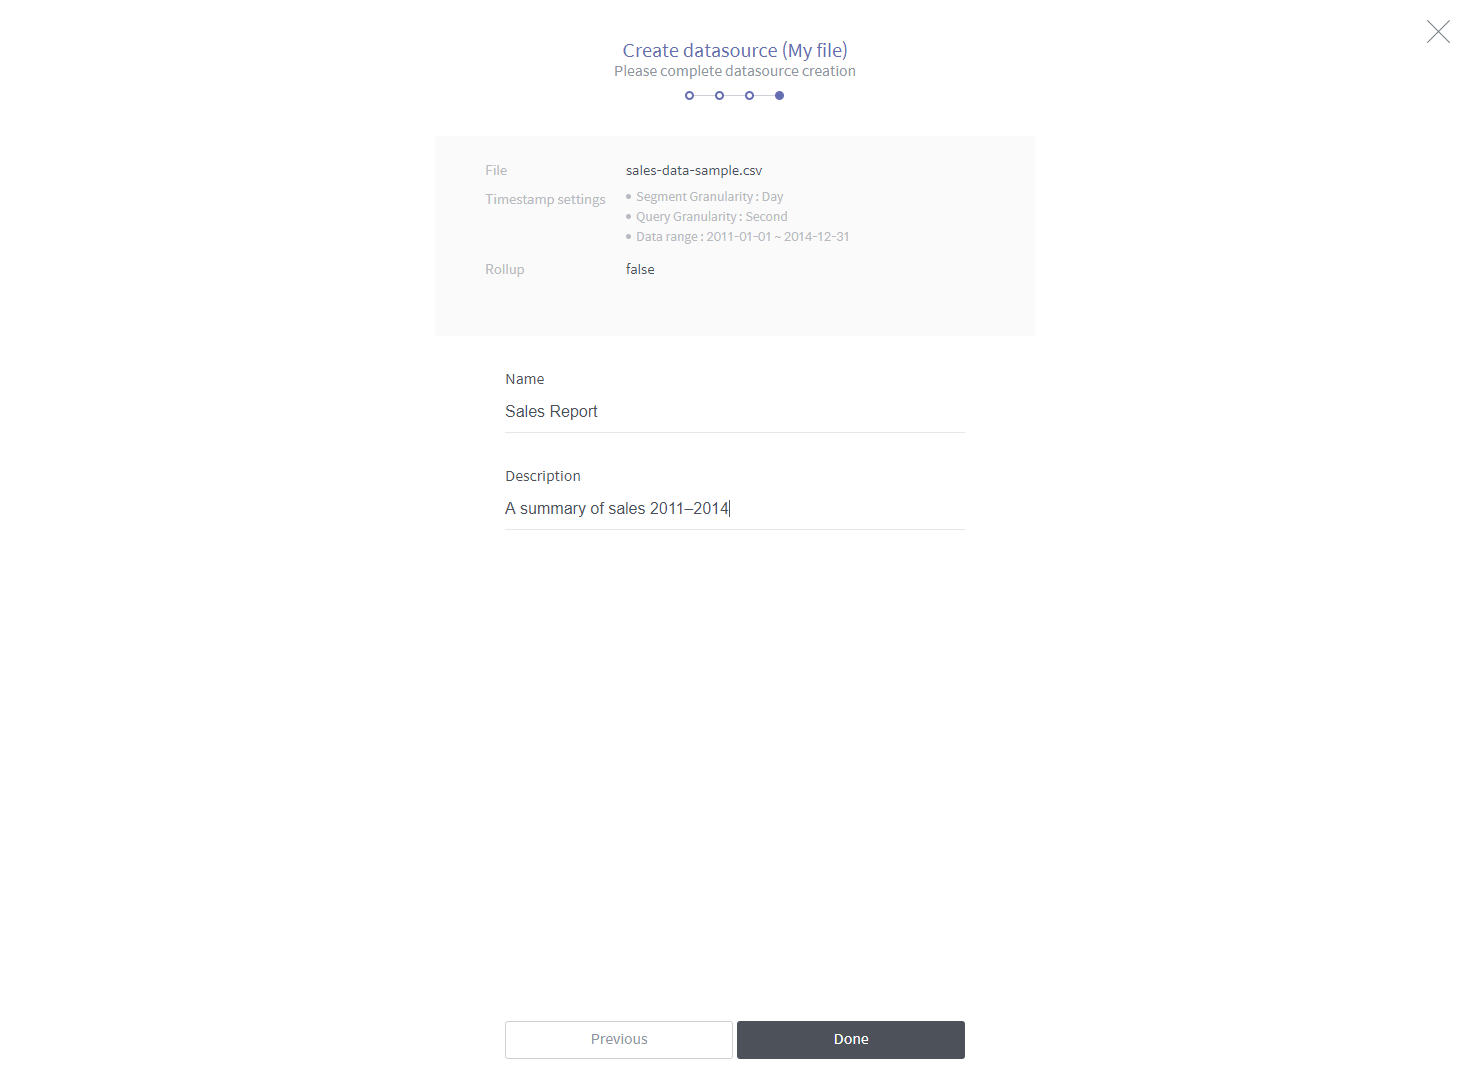
Lastly, enter the Name and Description for the data source. Click Done to proceed to the data source details page.
In the data source details page, you can view the ingestion status in real time. The screen below appears after a few minutes, indicating success. A histogram is displayed. If you encounter an error while ingesting another data source, click Details to view the Druid ingestion log. Ingestion may be unsuccessful due to a duplicate column name or mismatch between column types and their data. Try ingestion again after addressing the issue.

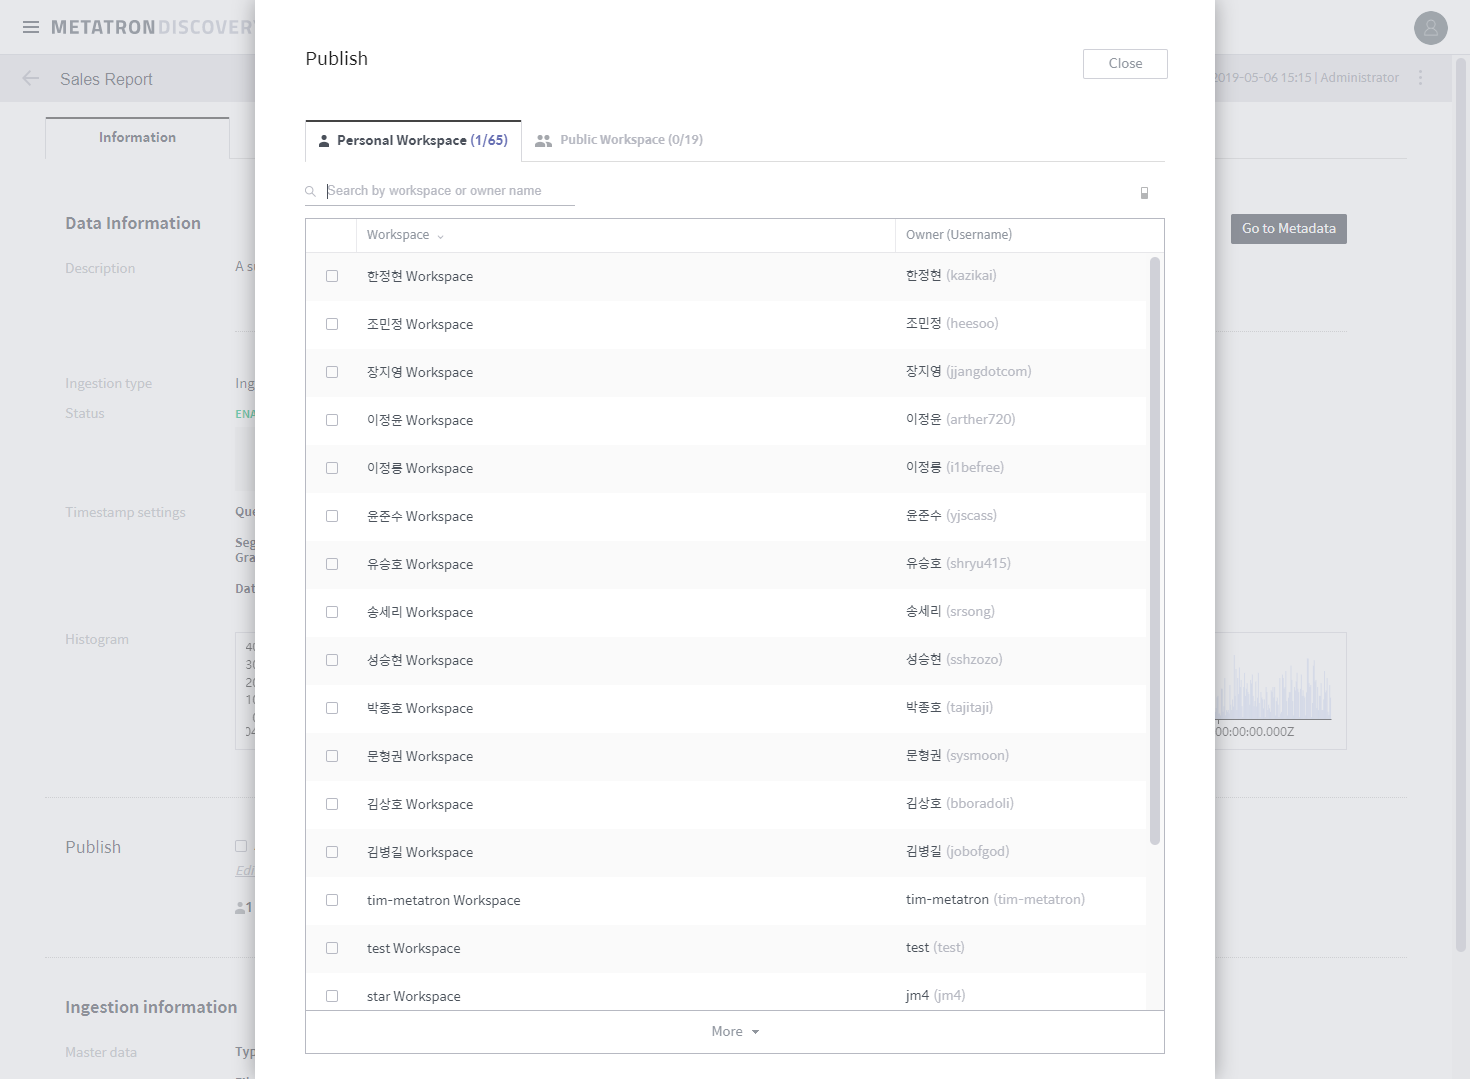
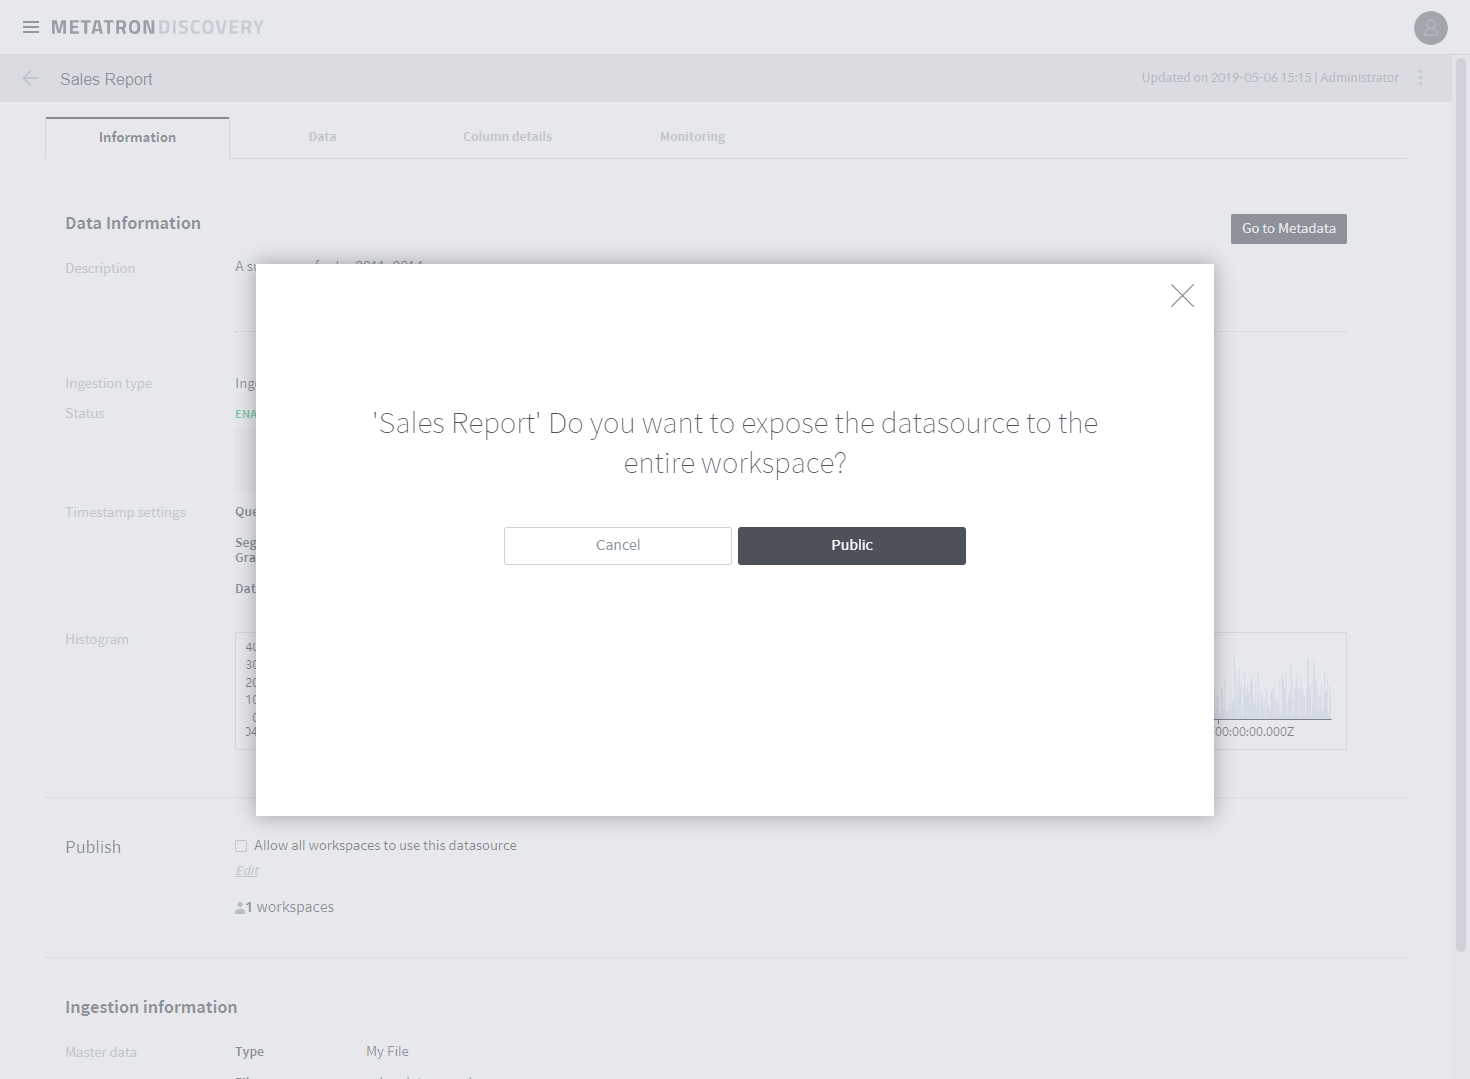
To make the data source available to other users, check the checkbox next to Allow all workspaces to use this datasource under Publish. To make the data source available only to specific users, click Edit and select individual users’ or teams’ workspaces as desired.
In this example, we will choose Open Data to make it available to all users.
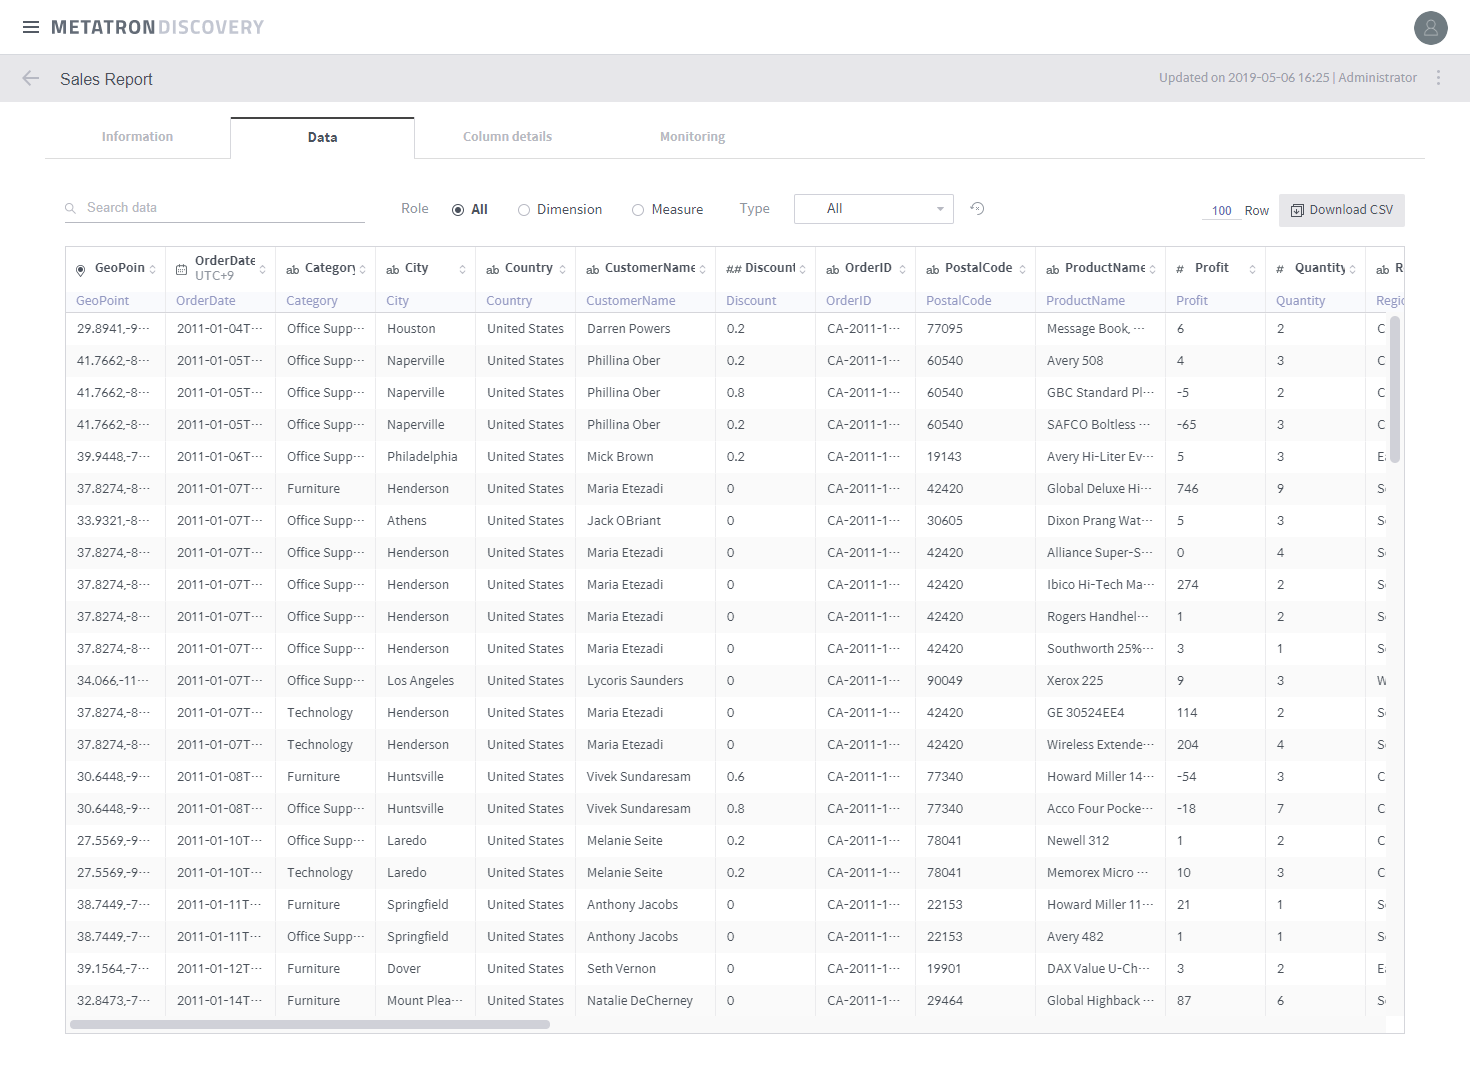
The ingested data can be viewed under the Data tab.
Congratulations! Now, it’s time to use the data source. Let’s proceed to the next step.